One of the most intimidating things you can encounter out on the trails is a section so steep and littered with obstacles that you doubt any living human could ever ride down it. I can assure you that with some practice and this advice, you will confidently be able to safely navigate your way down the steepest sections of trails.
Be comfortable out of the saddle
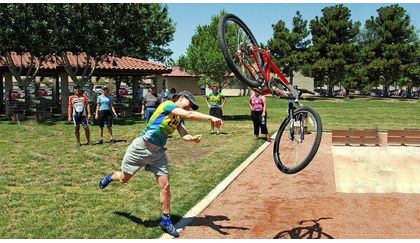
The first thing you need to practice is moving your body position around in the cockpit of your bike. Riding steeps requires you to hang your butt out over your rear axle, so you want to be super confident in getting up and moving around before you ride the trails. Head out to the street or a field and practice standing on your pedals, hanging your butt over your rear tire, and just generally moving about in the cockpit.
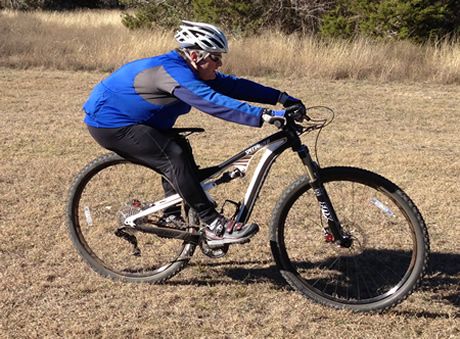
photo: Pinterest
Try hanging your butt far enough over your rear tire that you feel your front tire unweight a bit. Be prepared to fall over backwards, so do this somewhere soft (this is where practicing in a grassy field trumps the street). Knowing the limit to which you can unweight your front tire is important, you don’t want to loop out the first time you try to ride that steep, gnarly trail.
You also want to get familiar with how far you can lower your butt without touching your rear tire, this mistake is common and can cost you an expensive pair of riding shorts. People underestimate the disastrous effect contacting your rear tire can have on your clothing and skin, especially if you are running DH tires.
RELATED: Hottest new MTB tires
Take it to the trails... Carefully
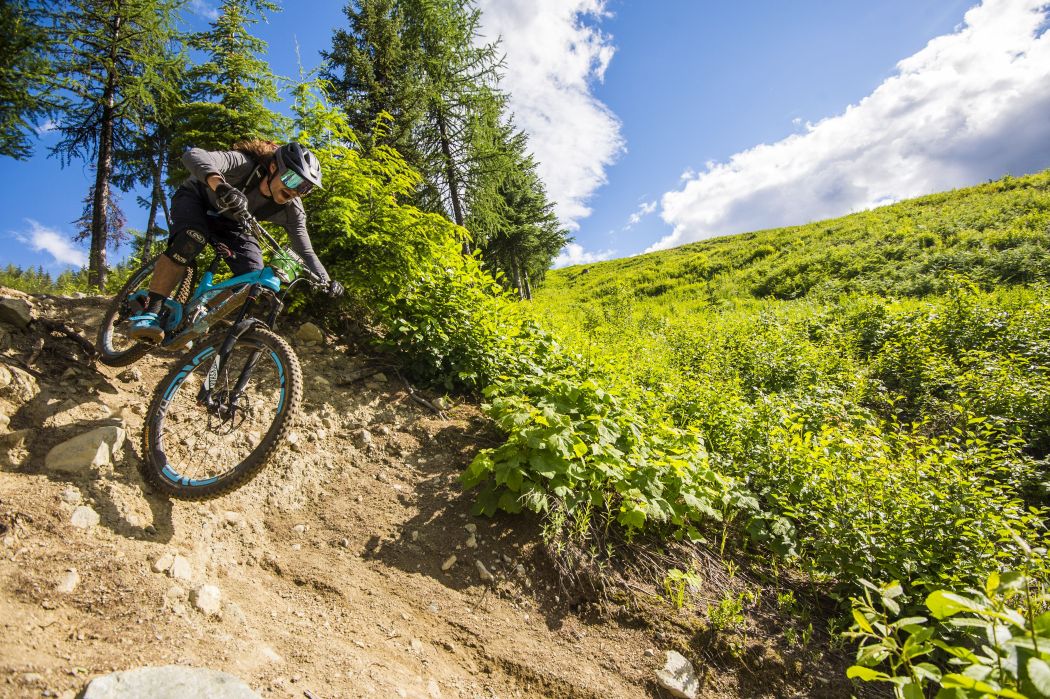
photo: Mountain Biking BC
Once you feel confident with moving your body position in the cockpit of your bike, take it to the trails, but start slow. Don’t go immediately to the steepest trail you can find; instead, treat every small hill like it’s the big gnarly steep one you’re working towards. This helps you get your timing down, as well as allows you to figure out the correct saddle height and brake lever position.
You want to practice braking and cornering with your weight over your rear axle so you can understand how much different it feels. With the majority of your weight so far back your front end will react very differently than when you have even weight distribution. You won’t get much traction on your front tire so both your braking and steering will be greatly compromised; you need to be comfortable knowing this, and knowing how you can still use your front end to guide you through the steeps.
You also want to be confident in locking up your rear wheel on small hills and regular trails before you tackle the really steep stuff. Dragging you rear tire can be a useful skill, as it can allow you to slow yourself while providing more split-second maneuverability. When your wheels are rotating, you are stuck on the path of their rotation, whereas if you lock up your rear wheel, you can slide around and maneuver your rear end without having to follow your wheel’s path.
Assess your bike setup
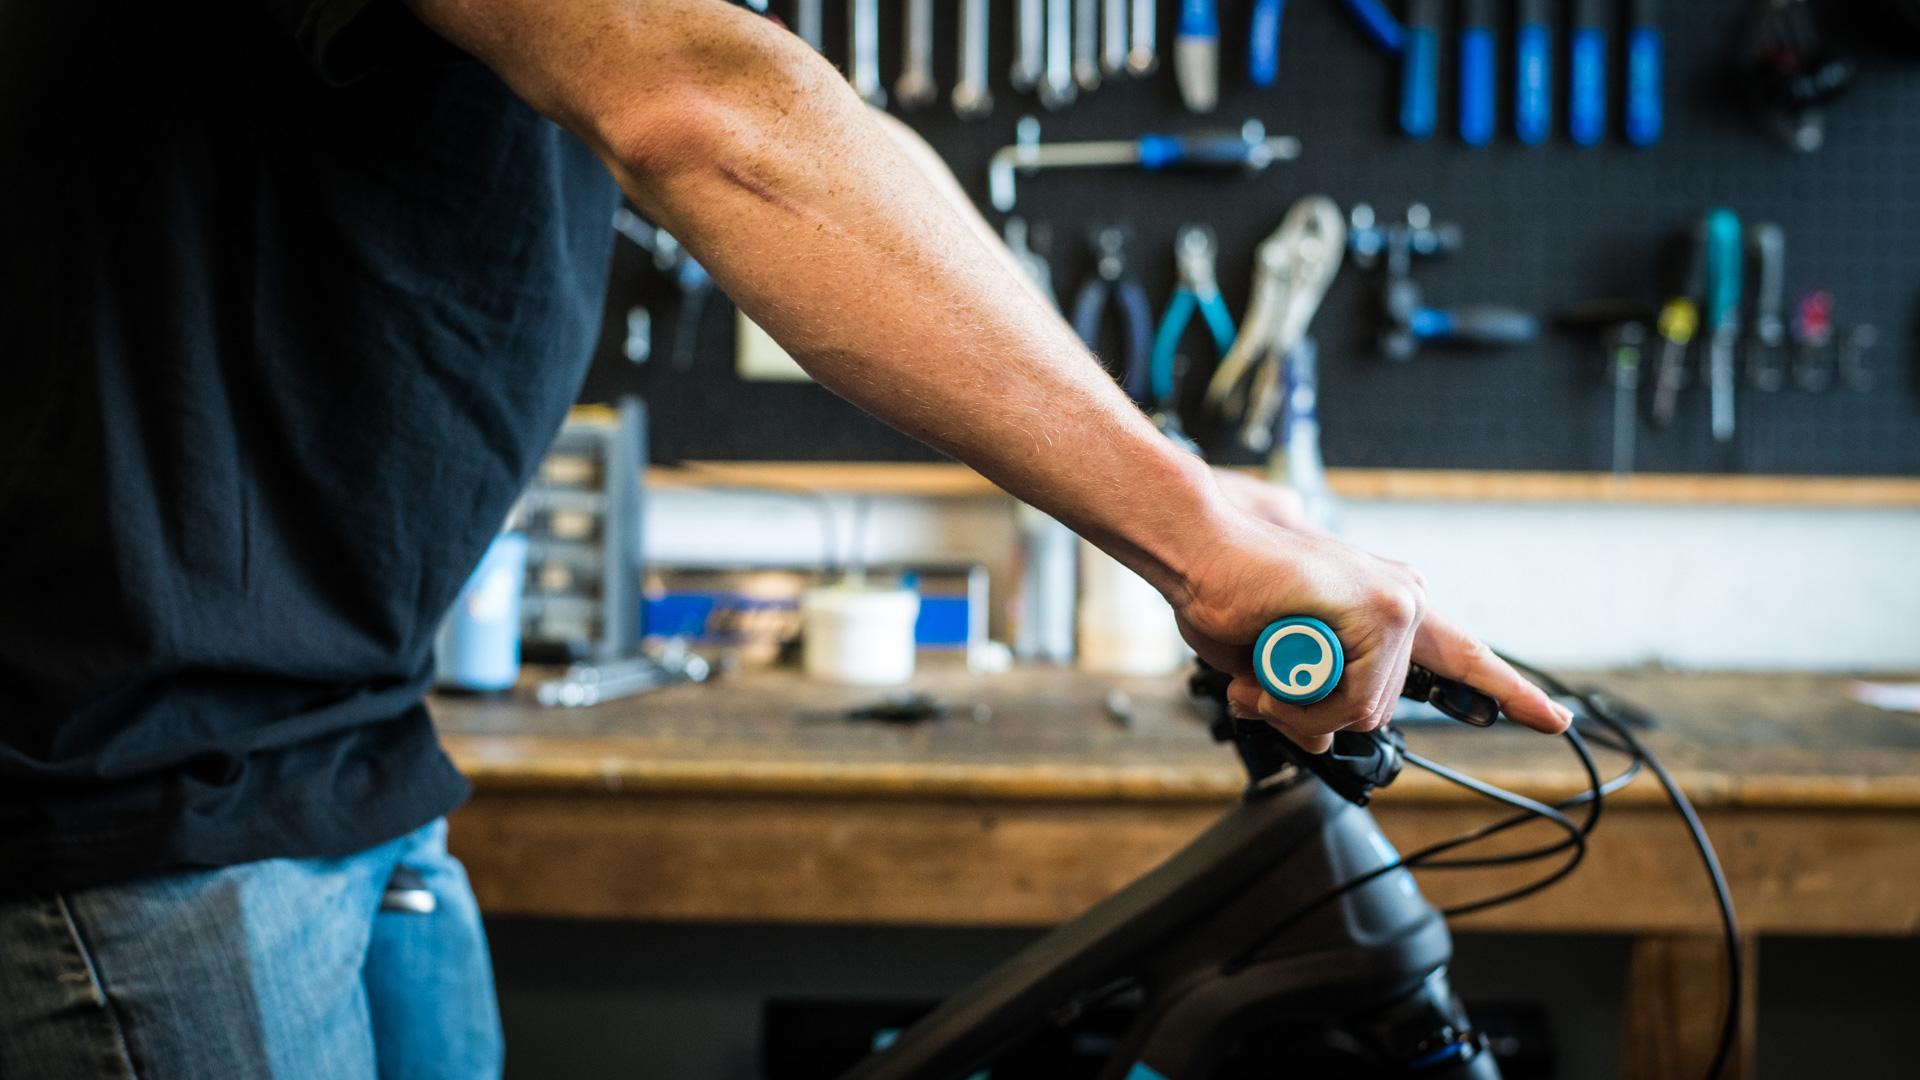
photo: Fanatik Bike Co.
Once you work through the previous steps, you are likely to notice some things about your bike setup that are limiting your descending capabilities. You might find issues with brake lever position, low front-end, high seatpost, or a steep head tube angle — all of which will seriously impact your ability to safely ride steeps.
If you find yourself unable to confidently reach your brake levers because they down face too much, rotate them up so they are flatter and allow your hands to be in a more forward position while reaching for them during a steep descent.
Your seat needs to be completely out of the way so your body has as much room as possible to move behind your rear axle; this is impossible with your seat in full upright pedal position so move it down as far as possible. Lowering your seatpost might be limited by water bottle cage bolts in the frame's seat tube; if that's the case, and you don't need the added length, cut a few inches off the bottom of your post to allow it to be lowered.
WARNING!
Cutting a seatpost almost always voids the warranty. Keep in mind a minimum insertion length, which is generally at least 2" below the top of the seattube. And while cutting may be as simple as a hacksaw, if you're in any way unsure, especially about cutting carbon fiber, it's probably best you get the help of your local bike shop.
If you feel like you are just about to go over the bars on any grade of downhill trail, take a look at your front end and see if you can make some adjustments. XC bikes are known for having a lower front-end with a steep head tube angle, and both of these can make descending harrowing for any level of rider. If you look at your stem (the clamp that holds your bars to your bike), there should be some spacers either below or above it on the steer tube. If all of them are above the stem switch them all to below and you’ll see your bars will be up higher; this will help you immensely on steeps.

photo: Rocky Mountain Bikes
Having a steep head tube angle is ideal for climbing, as it allows your front end to maneuver quickly while on those low speed technical climbs. This twitchy nature, however, works drastically against you when you ride fast, downhill, or both, as your bike is not able to absorb the front end impacts well enough to keep you from going over the bars. If in doubt, look up your bike’s specific geometry and compare it to that of leading AM or enduro bikes. If it is steep (like 69-72 degrees), you may want to rethink your desire to master those steeps, as there is no real practical way to slacken your head tube angle. But hey, this just gives you a reason to add another bike to the collection!
RELATED: Bike Fit: Does size matter?
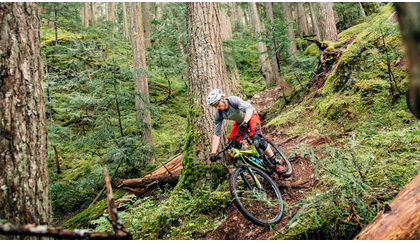
Alright, give ’er a go

photo: Hello BC
Once you’ve practiced and worked up the skills and courage, get out and try that ultra-steep section of trail.
First, get a close look at the slope without your bike; jump out of the saddle and look down where you'll be going. Observe potential hazards and pick your line. This is the time to choose well; once selected, you really want to try and stick to it no matter what.
Next, get back on your bike and approach the top of the slope slowly, but with enough speed to easily roll into it; if you have to give a last-moment pedal, you compromise your riding position and put yourself off balance.
Once you roll over the top, fully commit to your line; any wavering or line changes will only increase your chances of crashing. Again, pick your line and stick to it! If you can follow someone down the steeps who has done it before, follow their line as exactly as possible. You really can’t screw up if the person in front of you rides it just fine.
RELATED ARTICLE:
How to ride slippery roots
Slippery, off-camber roots can end in disaster. Use our tips to ride slippery roots! READ MORE
RELATED ARTICLE:
Don't give up on your mountain bike!
Having troubles on the trails? Thinking of giving up? Don't fear, BikeRoar is here to help! READ MORE