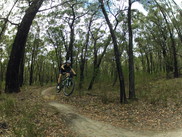
In the world of Mountain Biking, cornering plays a very big part in a rider's skill set and overall ability on the trail. If a rider struggles to corner they will generally lose a substantial amount of speed - reducing their 'flow' while riding.
What is flow, you might ask? It's more of a feeling than anything else. It's the ability to engage a variety of trail skills, making your riding style look effortlessly smooth and flowing. It's the ability to ride faster and smoother, but with way less effort than the guy behind you. Flow holds a broad spectrum, but it starts with cornering!
When you look at cornering as a singular skill, you think of things like traction, speed and ultimately the chatastrophic end result if you get it wrong. It's time to change that way of thinking! Forget how to corner, and learn from square one again. If you're worried about crashing, you probably have no faith in your technique.
SLOW CORNERS
To corner on an MTB, you need to try keep your body as vertical as possible. This means allowing the bike to lean over, while you stay upright. You can remain upright while staying seated, although this usually works better in slow corners. If you're going so slow that it's impossible to lean the bike, then none of this is needed... But if you're at a speed where you can lean the bike, do so without your body leaving the vertical plane.
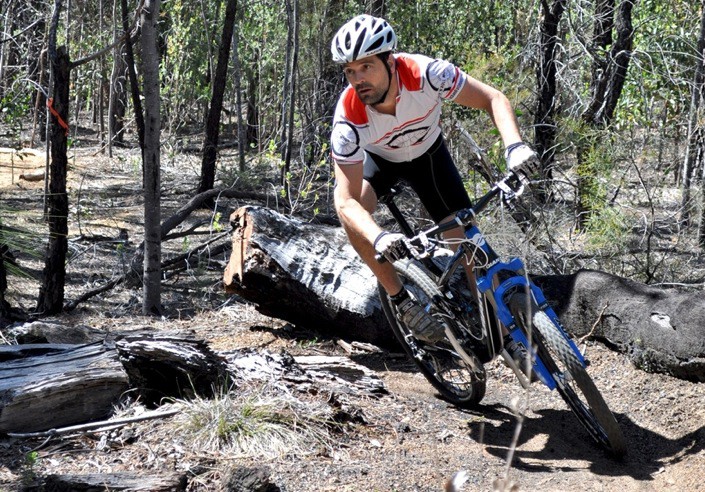
FAST CORNERS
When rounding a corner at speed, it is usually better to do so whilst standing (more on this later, it gets pretty damn cool!). When you stand, you're able to manoeuvre the bike much more, allowing you to lean the bike over more while your body again remains vertical.
This is the absolute basic concept in cornering, whether to sit or stand. It's a personal preference, so try both concepts on the same corner, at different speeds.
DO THE CORKSCREW
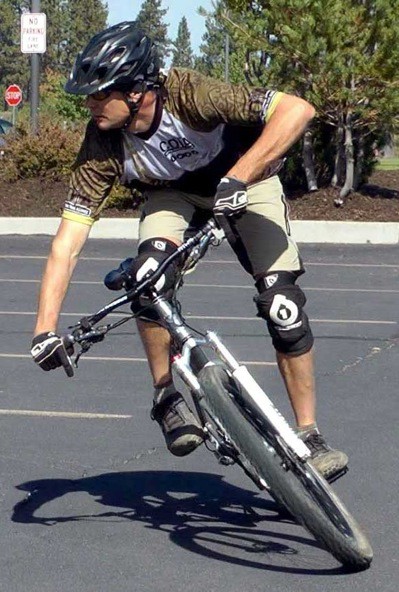
Photo: Jeff in Bend / Mtbr
This is where it gets cool! If you've been skim reading, slow down and take this in...
- As you approach the corner, brake to the required speed. Even go slower than normal to get the technique right.
- Release the brakes completely, and put your outside foot down to the 6 o'clock position.
- Push firmly down on the outside pedal, and keep your body vertical as you lean the bike into the corner.
- Twist your body, as if screwing yourself downward into the bike - make your belly button face the exit of the corner.
- Bend your knees, really screwing yourself down into the bike hard.
- As you exit the corner, reverse downward screw and slightly lean back and push the bike away from you, levelling both pedals.
Using this technique will allow you to exit the corner at speed, sometimes faster than when you entered the corner. This is skill number one, and should be practiced on every ride.
From a safety aspect, if the bike does slide out... you'll probably come out fine! Why? Because you're not leaning over! The bike is. This means you probably won't land awkwardly, but more tumble off the bike in an upright fashion. This technique massively increases your traction, as all your vertical weight is forcing the tires into the ground.

TIP: Look where you want the bike to go. If you feel like you're going to go off your line, stay true to where you're looking. Commit to the corner, and you will succeed! Look. Lean. Corkscrew!
TIRE CHOICES
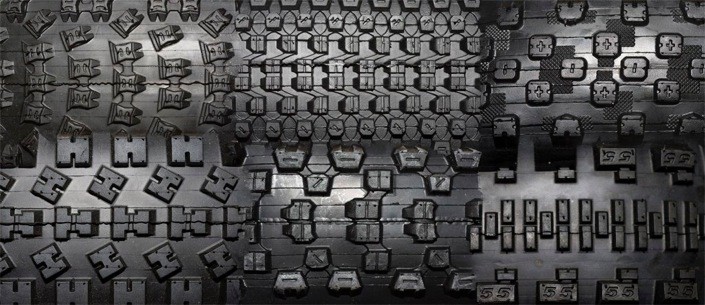
The last part of nailing that corner is tire choice. There are so many tires to choose from, let alone their tread patterns etc. As a simple rule of thumb, consider this: An aggressive tread is usually for aggressive riding. A more complex tread is for more complex or varied terrain. To put this into perspective, a big burly downhill tire that looks like it's off a motorbike is for... big burly riding!
A detailed tread with complex profiling shapes and small gaps between tread blocks is usually for cross country riding where you'll encounter all sorts of terrain on one ride.
MUD
Opt for a blocky tread with large gaps between tread blocks. This allows mud shedding and offers a more predictable tire in the mud, with far better grip.
SAND
Try riding a wider tire to allow you to float over the sand as opposed to cutting and 'tracking' as you ride through the sand.
HARDPACK
On this surface you can ride anything, although a more detailed and sharp edged tread is best to allow you to force as much grip on a relatively smooth and firm surface. A softer compound is worth considering.
VARIETY
If all of the above surfaces are likely to be in one ride, or you just want one pair of tires, then go for something versatile. This is a general cross country tire, and will have a medium compound rubber with square edged tread blocks and a fairly detailed but well spaced tread pattern. This allows the best compromise in mud, sand, hardpack and even loamy surfaces - but you'll have to adjust your riding style accordingly.
For a more detailed look at tyres, check out "Get a grip! Top 5 mountain bike tires"
So get out there, no matter your rubber choice! Hit some corners, stay off the brakes mid-turn and nail that corkscrew!
Once you get it right, try going slightly faster. If you're up for some flair, transfer your weight slightly forward when cornering and feel the back wheel gently slide sideways.