A good bike bag is one of the things that can make a race or ride away from home a genuinely fun experience — and a bag that falls short of your expectations can ruin your whole trip. A bag or box with dodgy wheels that’s hard to pack and impossible to wheel through an airport is incredibly frustrating — even more so if it took hours to dismantle your bike just to get it successfully stashed away.
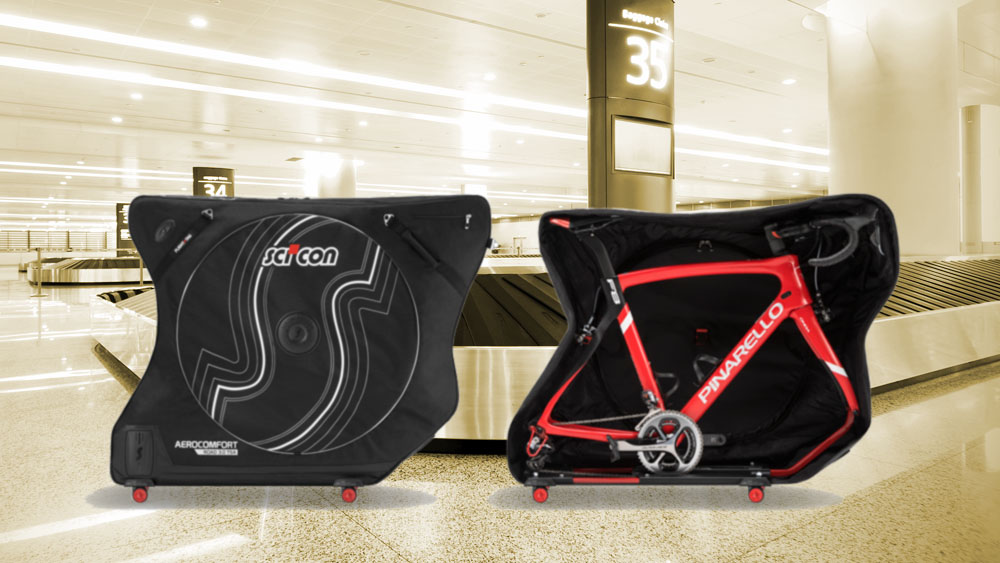
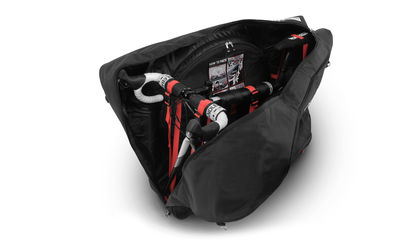
Enter the new AeroComfort Road 3.0 TSA from Italian manufacturer Scicon. The predecessor to this bag, the 2.0, was a solid unit that I took on a trip to France 18 months ago. It performed well, with decent wheels, well-placed luggage straps, and good protective padding. The new 3.0 TSA version is even better. It comes in at a weight of just 9 kg (19 lbs), more than a kilogram (2.2 lbs) lighter than the previous model; light enough to be checked in as regular baggage, bike included, on most airlines.
Rather than having four multi-directional roller wheels, the new Scicon Twin Wheel System features eight precision ball bearing wheels which rotate 360°, keeping the bag upright and maneuverable whatever the terrain — and the wheels are tough enough to withstand the bad intentions of the worst baggage handler.
The AeroComfort 3.0 keeps the same overall shape as the 2.0, but the base of the bag has had a major overhaul, with more reinforcements to add extra protection for your bike, and a new wider wheelbase to provide extra stability.
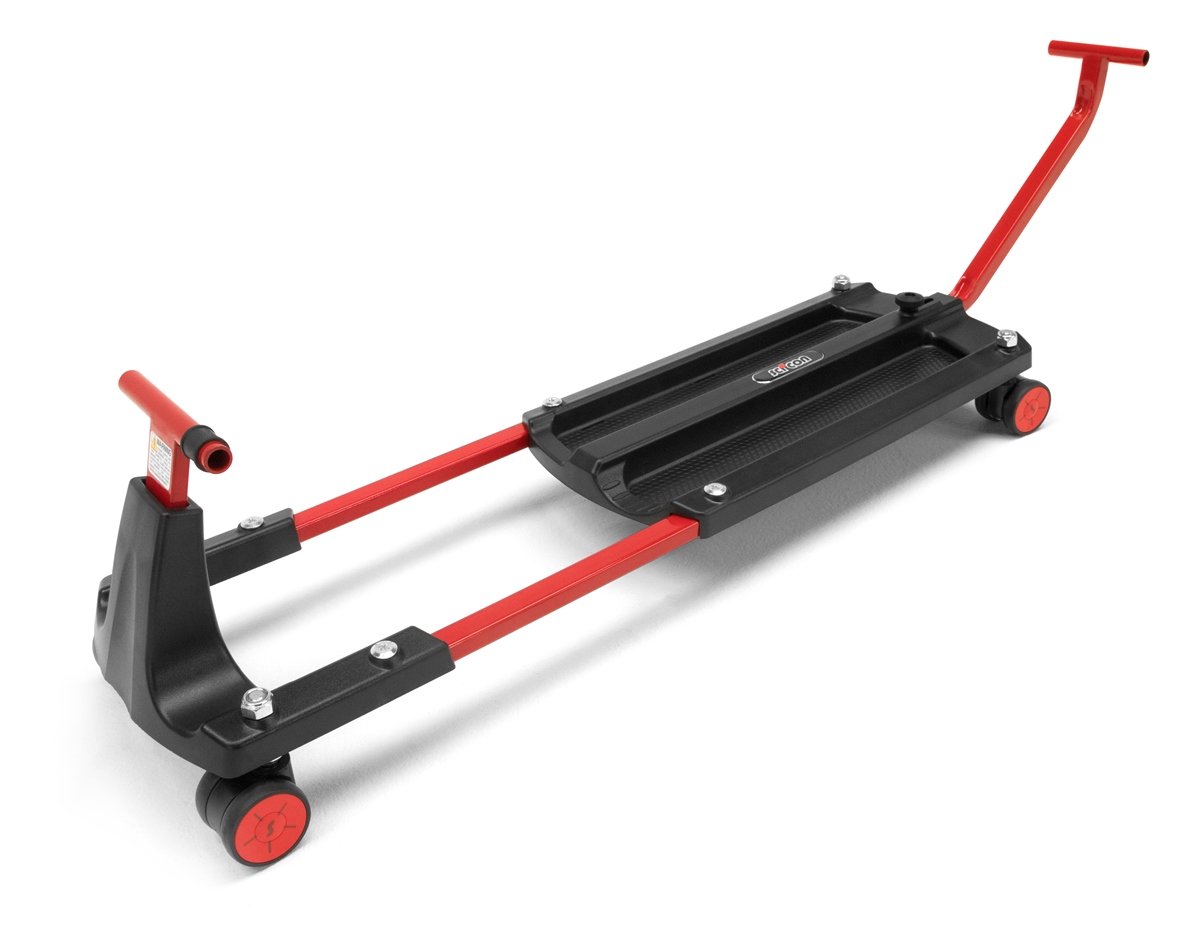
Inside, the rigid metal Frame Guard system (which bolts directly onto the hardshell plastic bag base) is the key to what makes this bag so easy to use. Easily adjustable for length and height, it holds your bike upright at all times, while protecting it from impacts.
The separate zippered wheel pockets and massive center zip mean that it’s easy for airport security to inspect without you having to dismantle the whole thing in the middle of the airport.
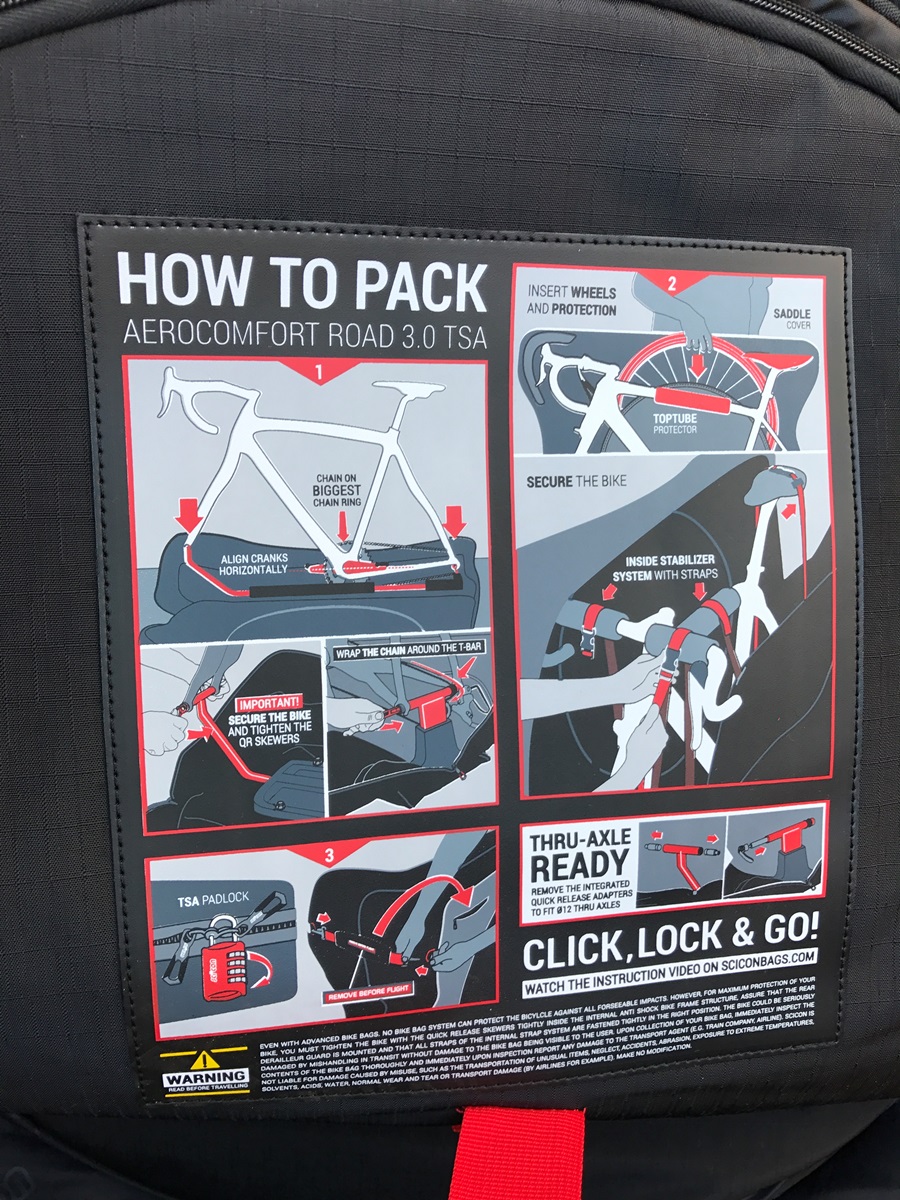
Specs are great, but how does it live up to expectations? To best understand follow me on how to use it:
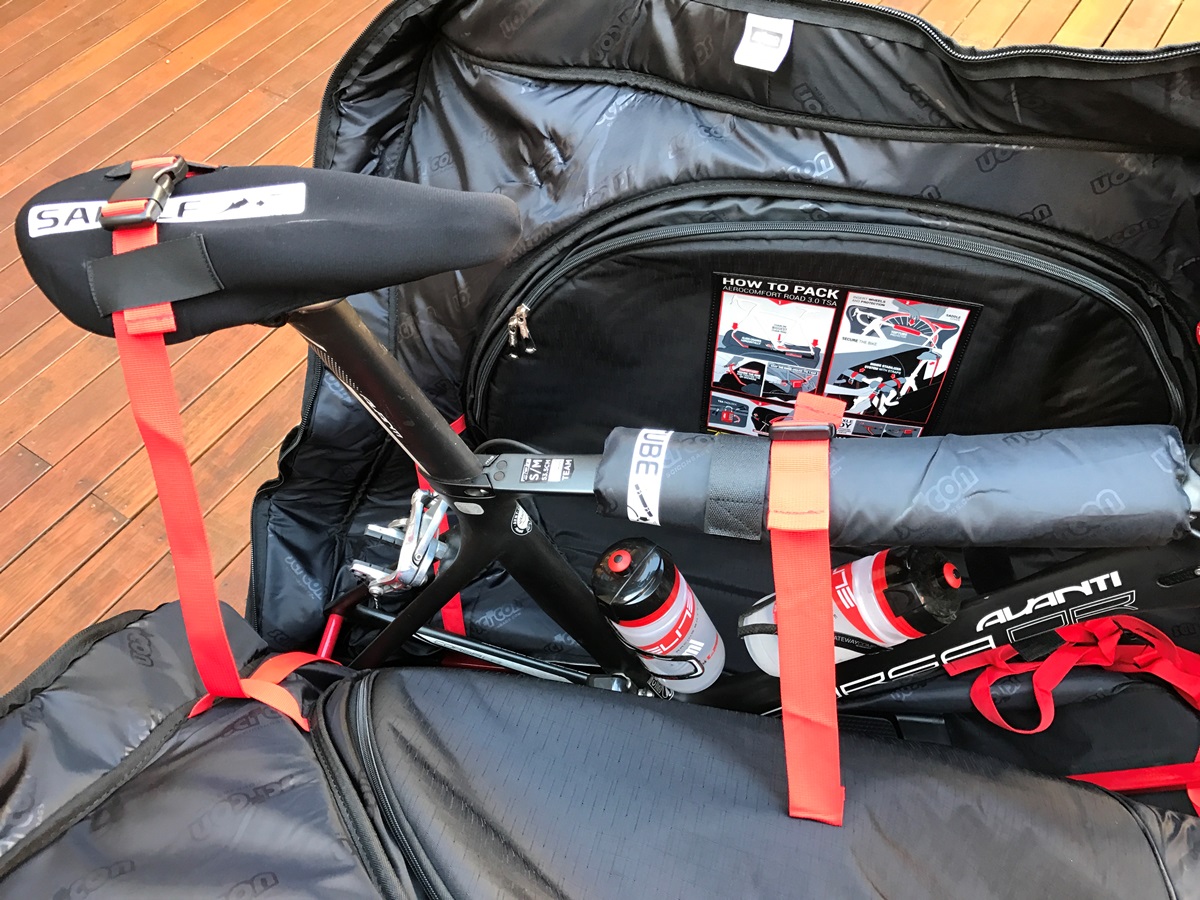
1. Unzip the bag fully, so that the sides lay open and the frame on the base of the bag is exposed.
2a. Take both wheels off your bike and put them to one side (remember to deflate your tires so they don’t explode during your flight). Remove the skewers and/or thru axles from the wheels.
2b. It’s not necessary to remove your pedals — the bag will still zip up all the way if you leave them on — but I found everything fitted a little better once they were removed.
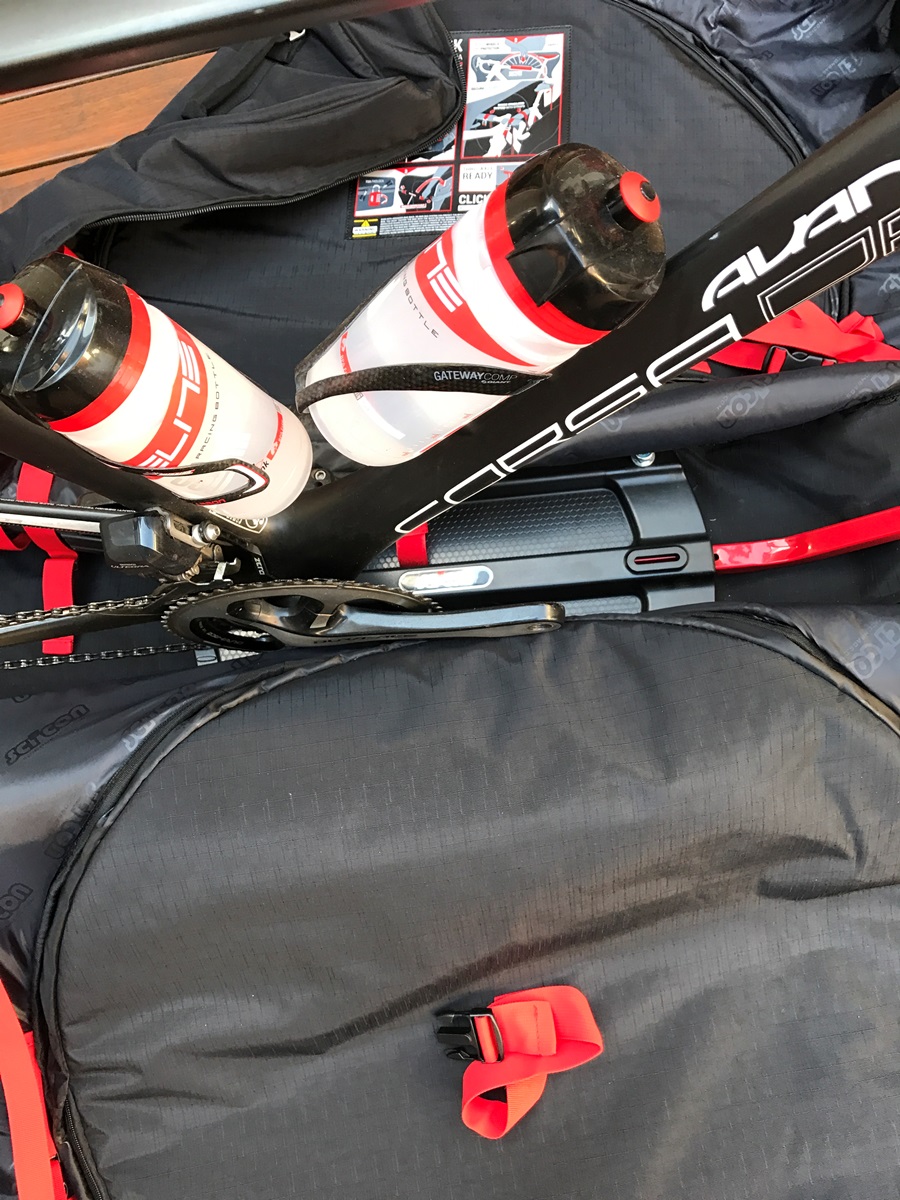
3a. Mount your rear dropout onto the rear of the internal Frame Guard using your skewer or thru axle, making sure you put your chain around the black plastic chain guard section on the Frame Guard. Scicon recommend you have your chain on the large chainring, but I found, depending on which bike I was travelling with and what cassette/gear combination I was running, that sometimes I couldn’t fit the chain around the chain guard if I did this. Either way, it travelled safe and sound so apparently it’s not crucial.
3b. The center of each axle mount has an aluminum cylinder to ensure a regular wheel skewer fits snugly inside it. For a TT bike, disc brake road bike or CX bike, simply slide the cylinder out of the center to convert the Frame Guard to thru-axle compatibility.
4. Mount your front fork on the fork attachment on the Frame Guard using your skewer or thru axle. This section of the Frame Guard slides horizontally, so if it appears not to fit simply adjust the Frame Guard by pulling or pushing the fork attachment until it aligns with your forks.
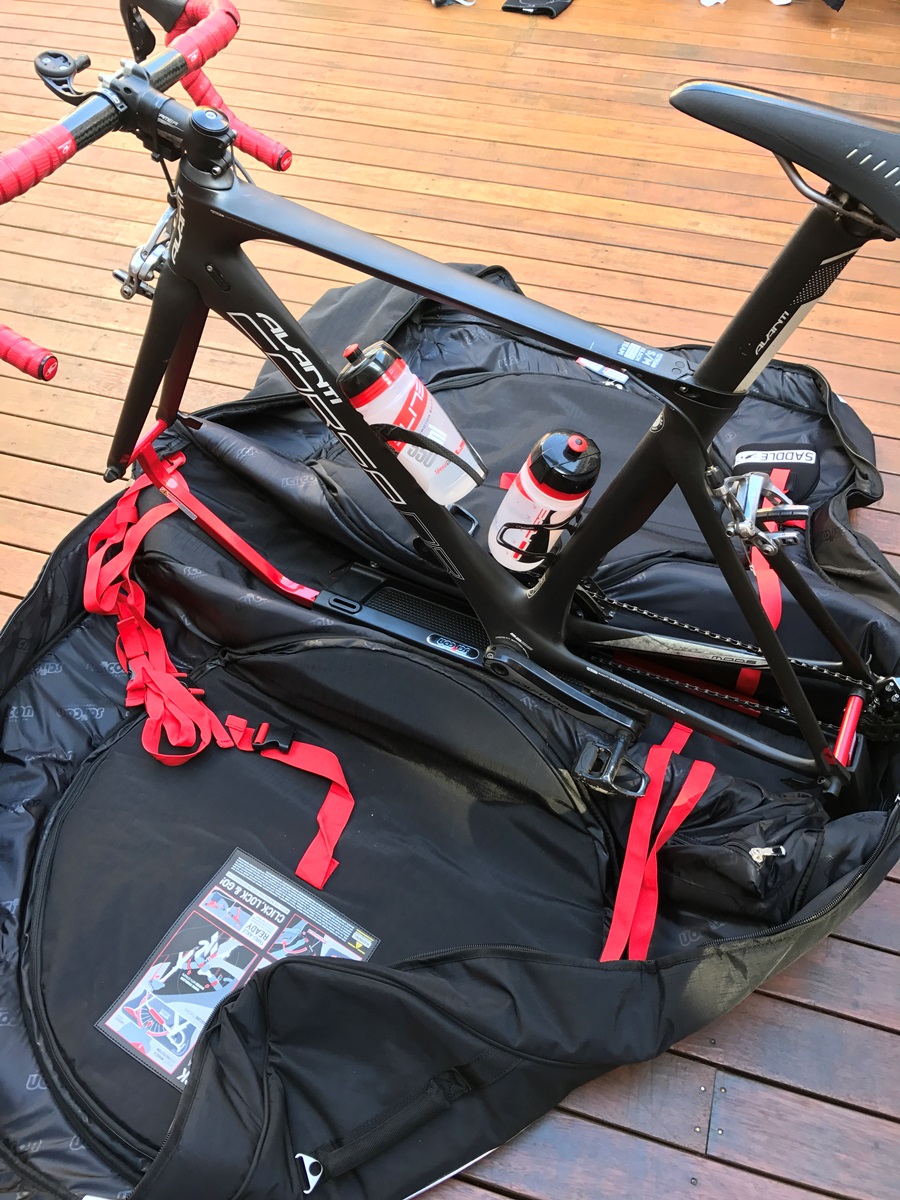
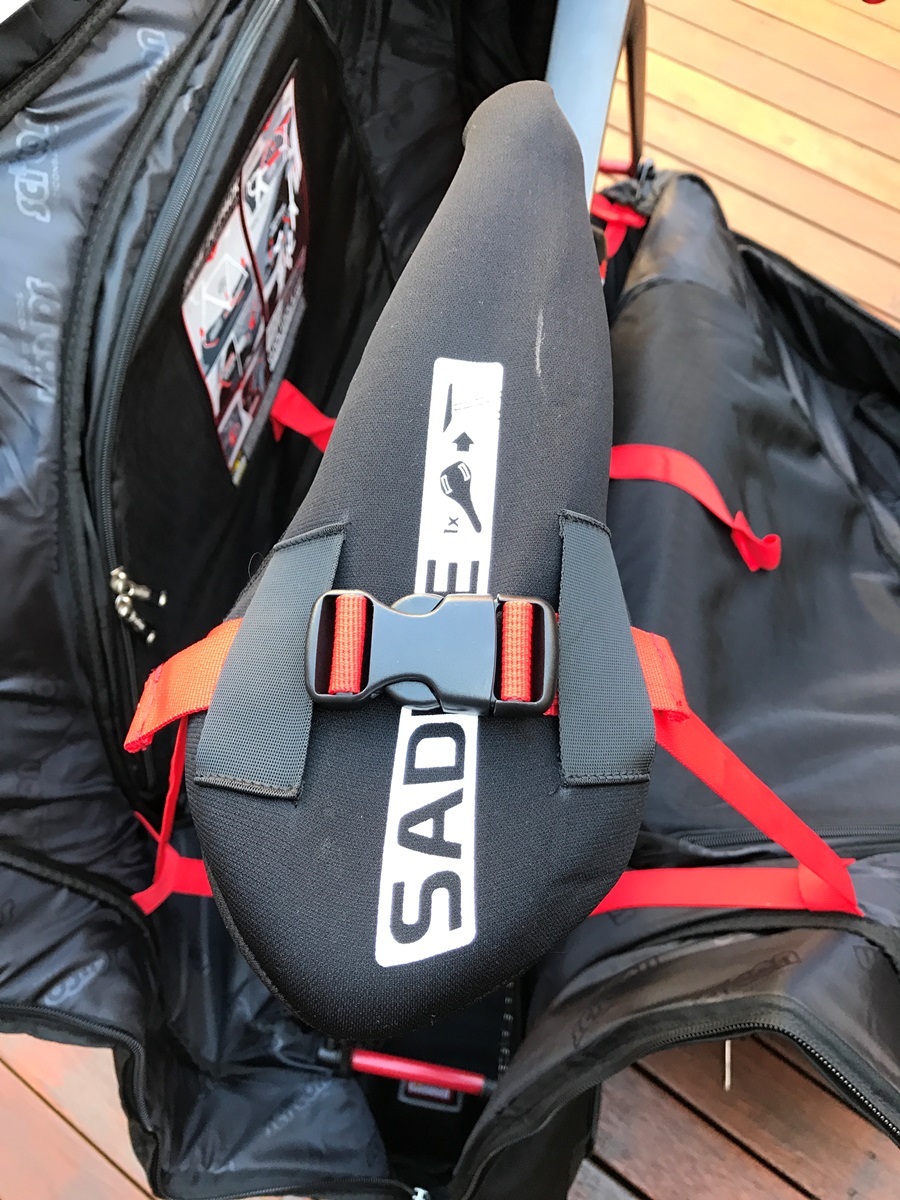
5. Once your frame is securely mounted, slide the saddle cover over your saddle. It is attached to a pair of tie-down straps that are already secured to the base of the bag. Simply pull them tight.
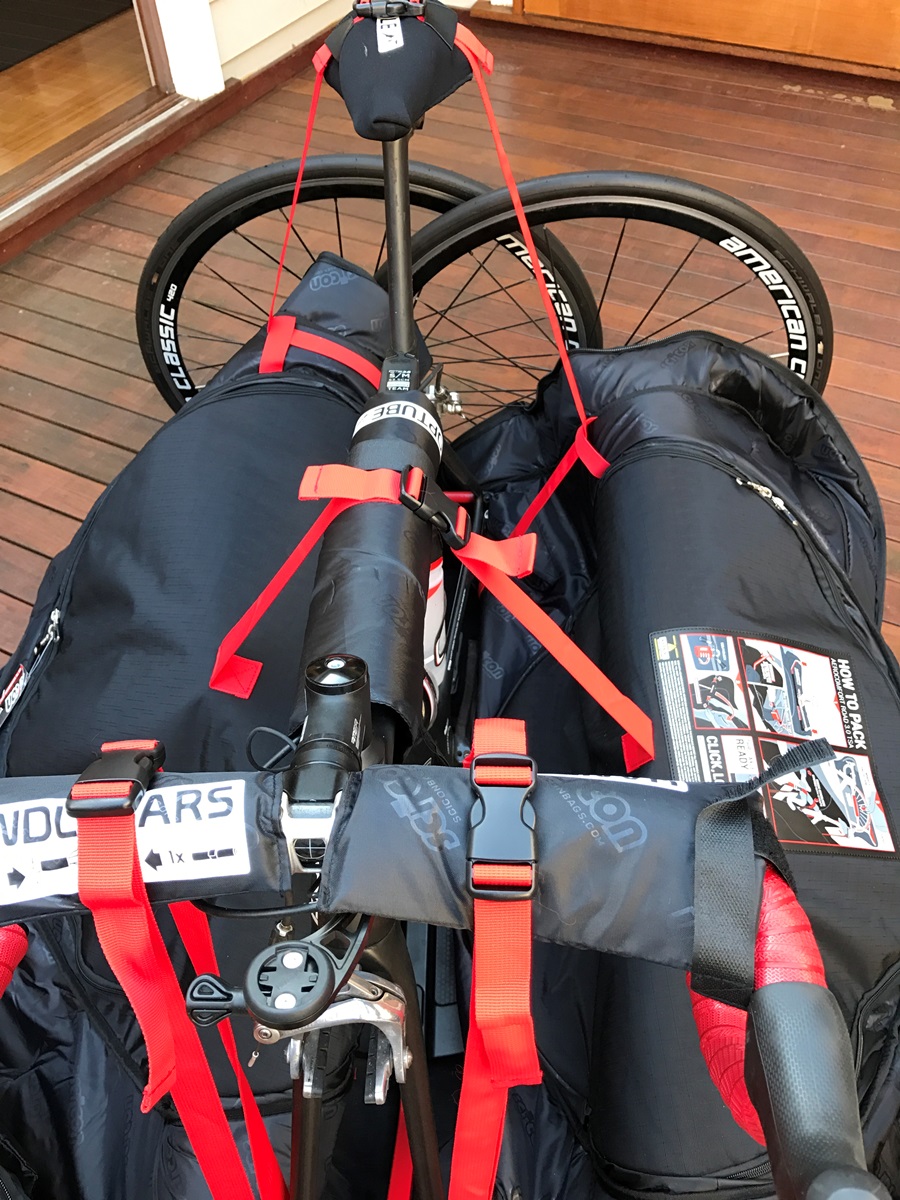
6. Place the foam Top Tube cover (provided by Scicon) over your bike’s top tube and tightly secure it using the built-in straps.


7. Place the foam handlebar covers on the outside of each side of your handlebars to protect the bars and brake hoods, tighten them with the attached Velcro straps then secure them to the base of the bag by using the built-in straps.
8. Place your wheels into the internal wheel pockets and zip them up.

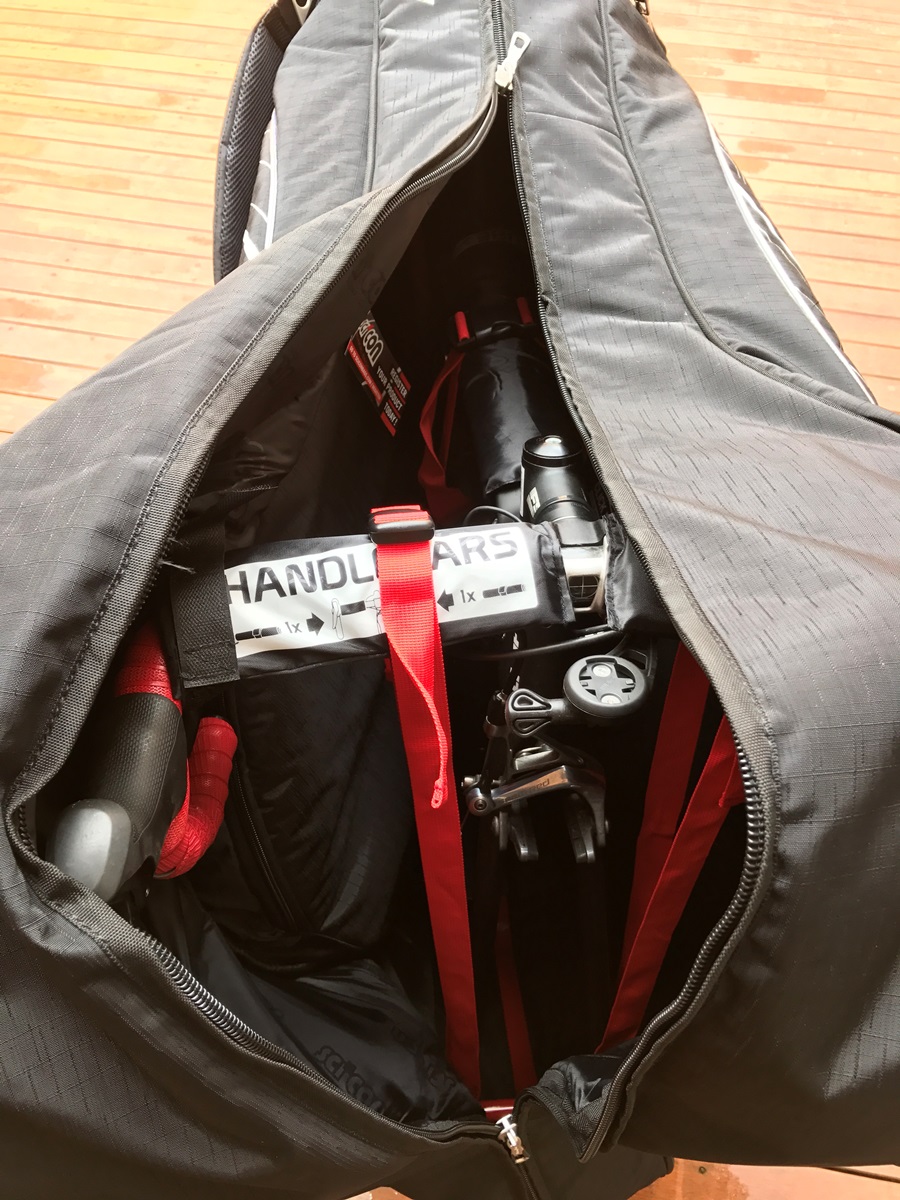
9. Zip up the entire bag — the front end flares out slightly to accommodate your handlebars.
10. Clip on the tow handles and carry strap and lock your bag using the provided TSA / Travel Sentry approved combination padlock.
11. Go to the airport, wheel around with ease, and feel assured your bike is adequately protected.

It took longer to write this description than it did to pack my bike away the first time; with my bike fully assembled and the AeroComfort 3.0 still in its box it still only took 22 minutes from start to finish — and I’m no star bike mechanic! The second time around took less than 15 minutes. That’s the beauty of this bag; it’s secure, it’s light, it rolls well and it does a fine job of protecting your valuable toy, but above all it’s incredibly user-friendly. For those of us that don’t necessarily want to spend hours tinkering at each end of the journey to get our bike back just the way we like it, this is the perfect travel accessory. MSRP $899 USD.
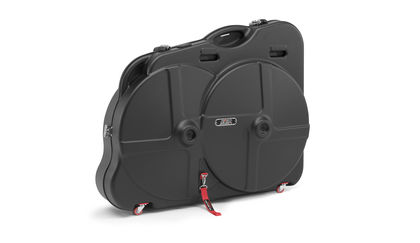
For $100 USD more, you might wonder about getting more protection from the hard shell AeroTech Evolution 3.0 TSA case. The extra protection of the box is a compromise to the convenience of the AeroComfort bag. It's very convenient to store the bag when it's not being used; once it's empty, you can basically squash it flat just by leaning on it. From there, it's a simple matter to roll it under a bed or tip it sideways into a cupboard for storage. Furthermore, the hard case requires the removal of one pedal, the seatpost, and the loosening/turning 90 degrees of the handlebars. This can pose a few problems: those of us with integrated seatposts are immediately at a disadvantage* (a problem I experienced personally using a hard case which required the handlebars to be turned) and those of us with Di2 or other electronic shifters can easily damage cable connections.
* Editor's Note: Since our review, Scicon informed us, "we have thought about [integrated seaposts] and [ours] may be one of the few hard case options out there that actually caters for seat post extensions. If you flip the frame in the case, the seat post extension will find its place in the higher end of the case!"

ENTER TO WIN
a Cambodia Cycling Adventure for 2, Scicon Travel Gear, & 2 Mindshift Packs valued at over US$2,200!
Click Here to Enter to win!

RELATED ARTICLE:
10 reasons to be a Tour de France spectator
Bored of sitting in front of the TV for three weeks during a grand tour? Why not make the pilgrimage and see the race in person. We promise you won't be disappointed! READ MORE
RELATED ARTICLE:
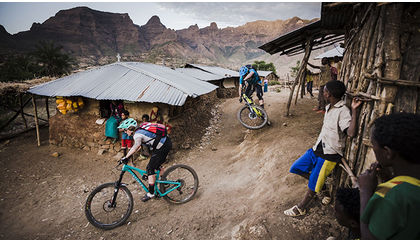
Adventure Riding: How-to ride in exotic countries
There is no better way to see exotic countries then from the seat of your bike. BikeRoar gives you some inside tips on how you can properly plan for the trip of your life... READ MORE