Whichever season you're in, it doesn't take long to work up a good sweat on the bike. But it's not really an issue because after 2-4 hours of exercise everything ends up in the washing machine anyway! Well... almost everything. Helmets do get a bit neglected and soon develop a sharp smell that goes far beyond 'character' or a prompter for a good conversation over coffee. In fact, little is known about how to properly wash a helmet, with some brands even omitting these care instructions themselves.
We know this is a major issue to deal with, but rest easy - we've got this!
Before we go any further, we need to stipulate that you must check with your particular helmet manufacturer for care instructions. If care instructions are not provided, it might be best to try some of our suggestions, because frankly we're in the same boat as you on this topic.
Helmet Care
The purpose of a helmet is to protect your head from impacts. Altering the integrity of the helmet might not leave a visible sign, but it will affect the helmets ability to absorb impacts during a fall. So for the record, we strongly discourage the use of the following methods;
- chemical cleaners
- soaking baths
- very hot water
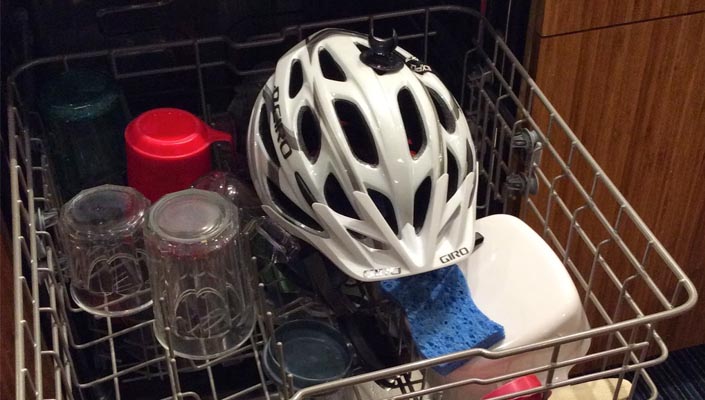
- dishwashers (no kidding, people are creative)
The reason we suggest against these methods, is that the structural integrity of the helmet material itself can be greatly compromised. Chemical cleaners may break down the structure of the foam used, while hot soaking baths or hot water may reduce the binding strength of the glues used to hold the helmet together. The dishwasher option speaks for itself... Don't do it.
Cleaning Methods
There are several methods to cleaning your helmet, depending mainly on how dirty it is. A quick wipe down may be suitable after a day on the trails, or just a quick rinse in the shower under lukewarm water. But if your helmet really needs some lovin', then you may have to take it to the next level. Check out our washing procedure below, and tell us what you think.
NOTE:
Helmet cleaning sprays and lotions do exist, however not enough of them exist for their inclusion to be relevant in this article. We'll keep our methods simple, so all riders can benefit (not just riders with stores stocking these products).
For a sparkling clean helmet, try any one of these methods:
Method: Shower Power
When you're about to have a shower after your ride, simply put a small amount of shampoo (barely any) on the foam pads inside your helmet.
- Rub shampoo into pads with your fingers.
- Rinse well until shampoo is all gone (otherwise it'll end up in your eyes).
- Dab the padding inside with a dry towel, and allow helmet to air dry.
Method: Bucket Dunk
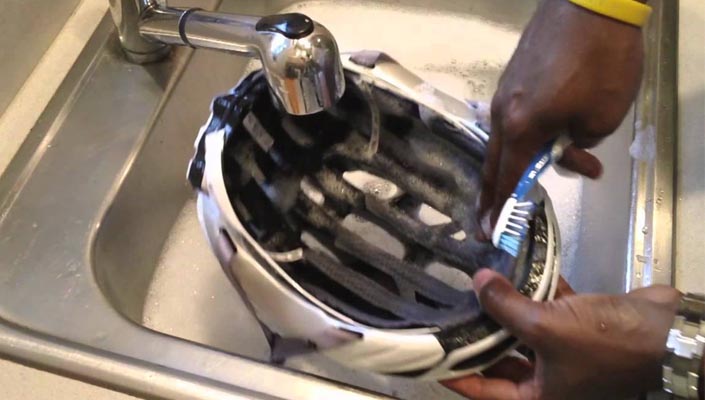
If you're not keen on having a shower with your helmet, simply follow similar steps but with a bucket of lukewarm water.
- Dip helmet into warm water in the bucket.
- Apply a small amount of shampoo to pads, and rub in with fingers.
- Rinse helmet thoroughly in bucket, and again under running water.
- Dab helmet dry with towel, and allow further air drying.
Helmet pads are removable, and can be washed separately. However, if you feel your helmet pads are well worn or aren't offering much padding, enquire with your local bike store as to whether they can acquire replacement pads for you. They're quite affordable and make your helmet feel like new again.
With either of these methods, you can also wipe down the exterior of your helmet while you're busy washing it. Keep in mind; this is also a good chance to perform a brief safety inspection, which brings us to our next point!
Safety Inspection
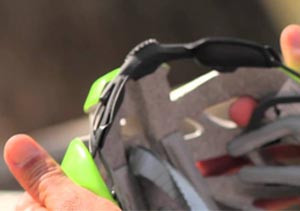
While washing your helmet, run an eye over the inside of your helmet in particular. Look for small cracks and areas of concern, especially if you fell recently and "didn't think or realise" you'd hit your head on the ground. If you spot what looks like a crack, try pull the helmet apart gently, to see if the crack widens. If you confirm there is indeed a crack, replace the helmet immediately! No questions asked!
On the outside of your helmet, look for cracked or deformed outer casings, as a sign of impact or damage, and even sun exposure. Your helmet shell is equally important in protecting you, so ensure it's in perfect condition.
As a last suggestion, consider replacing your helmet every two years unless you've had an impact. This way, you're guaranteed a perfectly safe helmet - something you'll appreciate when you least expect it.

RELATED ARTICLE:
What is the difference between a $60 and $300 cycling helmet?
Imagine what you could spend a couple of hundred dollars on... I bet you weren't thinking along the lines of a new helmet! Today's market is flooded with choice, and when it comes to shopping for a new helmet, things are no different... READ MORE