Many mechanical points of interest on your bike may be beyond your skill level when it comes to carrying out any repairs or adjustments and disc brakes could just be one of those things. Many brake problems, especially regarding hydraulics, are better off being dealt with by your local bike shop mechanic - but what happens when you're out on the trail and things go wrong?
Here are some simple tips to get you moving again until you get to a professional mechanic.
TYPES OF BRAKES
There are various types of brakes available today. Most common are mechanically quite simple to understand, but equally easy to stuff up! A brake operates by means of you squeezing the brake lever, which in turn forces the pads to rub against the rim/rotor with considerable force. This resistance is what slows you down. However if your brakes are incorrectly adjusted the pads might rub on the rim or rotor of their own accord - not enough to slow you to a halt but enough to create drag while you ride and also enough to create noise (which is by far the worst side effect!).
Here we will be focusing on the two styles of disc brakes; mechanical and hydraulic disc brakes. A brief overview will explain how each style works, before explaining how you can adjust them yourself!
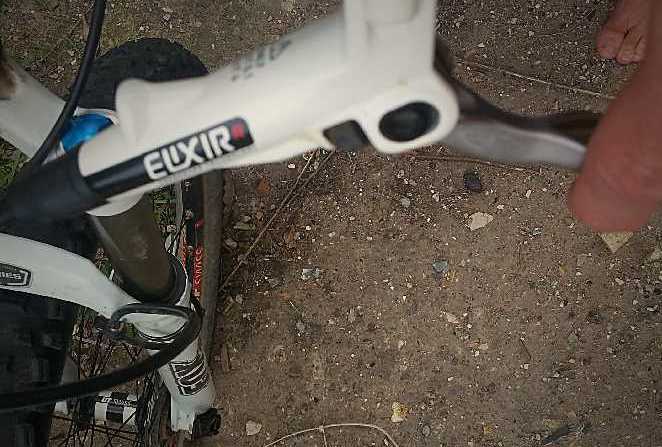
MECHANICAL DISC BRAKES
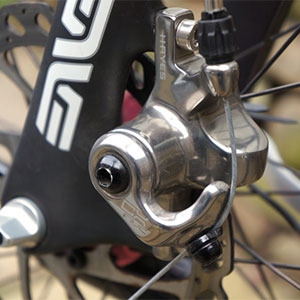
Photo: Bike Rumor
Mechanical brakes operate by means of a cable. The cable runs from your handlebar mounted brake lever, all the way down to the brake caliper. When you pull the brake lever, it pulls the cable and clamps the brake pads onto the disc rotor. The harder you squeeze, the harder the brake pads are pushed against the disc rotor.
Disc brakes operate with a very fine margin for error. When your brakes are working correctly, and the pads do not rub on the rotor while you're riding, they're only millimetres from the disc rotor. It's very easy for things to go wrong, usually in an irritating, rather than a serious, way.
HYDRAULIC DISC BRAKES
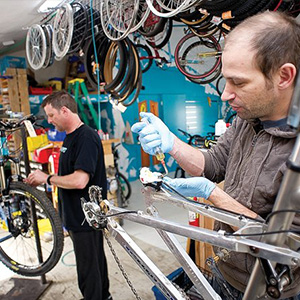
Photo: Explore Steam Boat
A slightly more advanced system but also much easier to use. Hydraulic disc brakes are usually self-adjusting to compensate for brake pad wear. They are also much softer to the touch, meaning a single finger is all it takes to send you over the handlebars. Hydraulic brakes work by means of a master and slave cylinders. The master cylinder is in the handlebar unit - when you pull the brake lever, the master cylinder pushes hydraulic fluid down your hydraulic hose. The hose carries the pressure all the way to the brake caliper where the slave cylinders are then pressed (and the attached brake pads) against the rotor.
Some brake systems have one slave cylinder on each side of the rotor, while others have two slave cylinders on each side of the rotor.
Unless you know what you're doing, never open a hydraulic braking system. It requires extensive knowledge, and the associated mess and subsequent brake failure aren't worth the effort.
HOW TO FIX IT
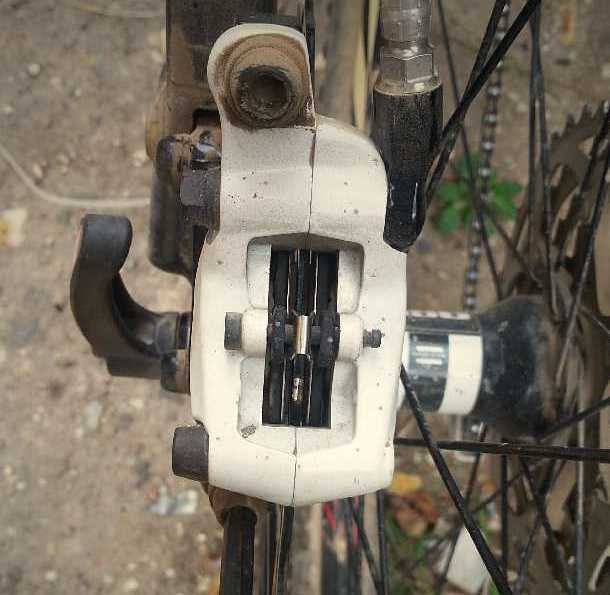
MISALIGNED BRAKE CALIPER
If you find your brake pads rubbing on the rotor, it's quite easy to adjust them yourself to resolve the problem. Here's how;
- Get the suitable allen key size (5mm usually) and loosen the two bolts that hold the entire caliper onto the bike. Wiggle the whole caliper side to side, to ensure it's loose. DO NOT remove the bolts completely; it's extra work for nothing.
- With the two bolts still loosened, gradually apply the brakes on the handlebars, until you're squeezing them very firmly. This is forcing the pads onto your disc rotor firmly which aligns the entire caliper you previously loosened.
- With the brakes still applied firmly begin to tighten the two caliper bolts you just loosened. This will hold the entire caliper in place. Release the brakes and take a deep breath!
- Spin the offending wheel and see if the rotor is still rubbing on the pads. Often there may be a scraping or rubbing sound even when adjusted as well as they can be. As long as this doesn't prevent or, after a short time, stop the wheel spinning it isn't really a big issue at all. As already stated, disc brakes operate to very fine tolerances so eliminating all noise can sometimes be impossible.
If all of this doesn't solve the problem, you may have a bent rotor, which is very easy to do without realising it. Again, we are talking millimetres here... Repeat the above process a few times just to be sure. It's a trial and error process unfortunately...
Related tools: Check out these two brake rotor tools from Park Tool which are a great addition to a bike workshop.
BENT BRAKE ROTOR
To fix a bent rotor do the following. If you're overly keen you will bend the rotor the other way and possibly do so permanently. Be subtle in your actions because you're working on a bike NOT a tractor. This is a hard one to manage on the trails unless you carry a wrench out riding!
- Spin the wheel and listen for a rubbing sound in one specific area. Now try to locate that area to confirm your suspicions.
- Get a pencil or a marker, and place a line where the rubbing starts, and another line where the rubbing stops. Avoid drawing on the braking surface - instead, draw on the 3mm thick top area of the brake rotor itself. This means you can see it from above.
- Get a small adjustable wrench (NOT PLIERS!) and a clean cloth. Don't post this on Facebook, because your cool mechanic friends will tear shreds out of you. "You can't do that!!"
- Place the clean cloth over the area that is bent, and then place the wrench over the cloth and rotor, so the rotor is being squeezed between the clamping of the wrench. Adjust the wrench so that it just fits over the rotor.
- With the hands of a surgeon gently lever the adjustable wrench to bend the rotor straight. Seeing as the bent area is probably quite long you'll have to do 3 or 4 little leverages along the area you marked out previously with a pencil or a marker. Most bends in a rotor will cover 1/4 to 2/3 of the total rotor circumference.
- Spin the wheel and look for an improvement. If you're almost there, repeat the above steps. If you're nowhere close, get a coffee and come back for another try. You will get it eventually, but it does take time.
NOTE: If a rotor is bent more than a few millimetres, it is beyond repair. Just replace it through your local bike shop and consider a brake rotor upgrade while you're at it. Cheap brake rotors are prone to warping, usually after extensive periods of braking. If you upgrade your brake rotors they are less likely to warp from the heat generated through extreme friction caused by braking. Speak to your local bike shop about this - they'll happily share their knowledge with you.
We all know disc brakes are wonderful when they work but can be a little bit fiddly to work on. Don't undertake this job if you don't have the required skill or patience. Always make small adjustments at a time and never use excess force. Last of all, there are proper tools for the job. This is merely a 'quick fix' option before you head out for a ride!
Good luck!